



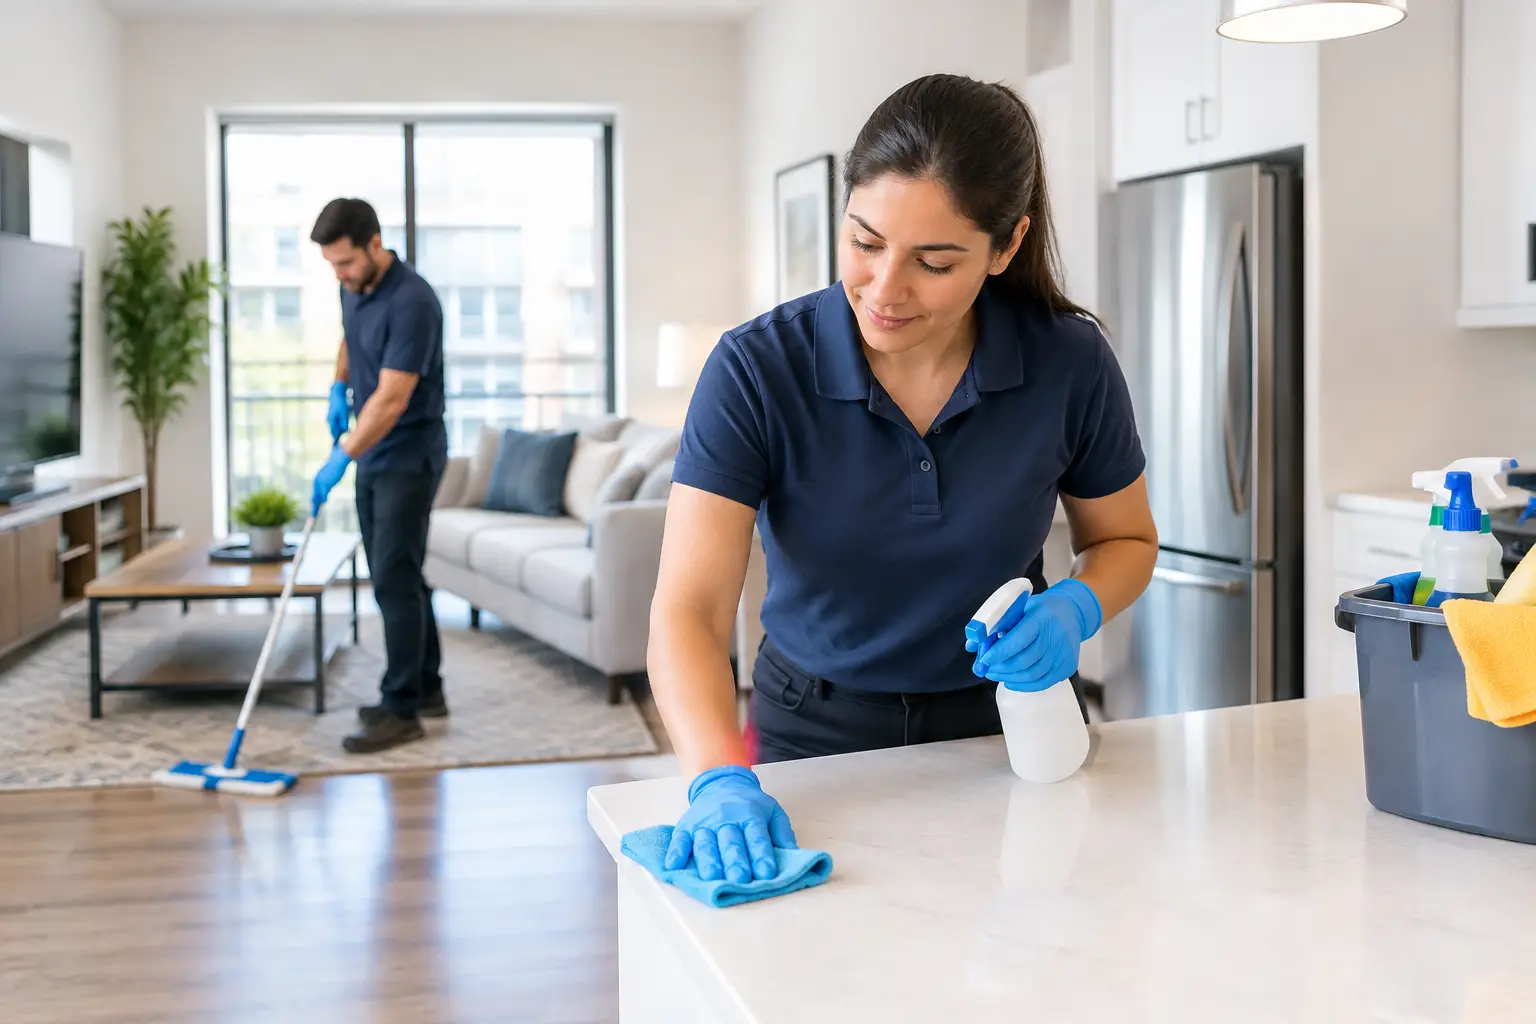
A vacant unit can look fine at first glance and still leave the wrong impression during a showing. Dust settles inside cabinets, bathroom buildup becomes visible under bright lights, and kitchen odors can linger long after the previous resident has moved out. Knowing how to clean rental units thoroughly helps property managers, landlords, and multifamily teams prepare a space that feels cared for from the moment a prospect walks in.
A successful turnover clean is more than a quick surface wipe-down. It is a repeatable process that supports faster unit readiness, clearer maintenance coordination, and a better experience for incoming residents. The right scope depends on the condition of the unit, the turnover timeline, and whether repairs or floor work are needed, but the goal stays the same: leave no doubt that the home is ready for its next chapter.
Start With a Room-by-Room Turnover Inspection
Cleaning goes faster when the team knows what it is walking into. Before supplies come out, inspect every room with the unit empty and lights on. Look beyond the obvious floors and counters. Open cabinets, check closet shelves, run exhaust fans, and note areas where adhesive, grease, hard-water marks, pet hair, or heavy soil may require extra attention.
This first walkthrough also creates a clean handoff between cleaning and maintenance. A stained wall, damaged blind, leaking faucet, or loose cabinet handle is not a cleaning issue, but it can make an otherwise clean rental look unfinished. Flag repairs early so the unit does not get cleaned, repaired, and then need another touch-up before showing.
For property teams managing multiple homes or apartment units, consistency matters. A simple turnover checklist keeps the standard clear across each property, even when unit layouts differ. It also helps teams prioritize: start with repairs and debris removal, then deep cleaning, then final presentation details.
How to Clean Rental Units From Top to Bottom
The most efficient approach is to work from high surfaces to low ones and from the back of each room toward the exit. This prevents dust and debris from landing on areas that have already been cleaned. It also gives the work a logical order when several people are handling the turnover.
Begin With Dry Dusting and Detail Work
Remove cobwebs from ceiling corners, vents, light fixtures, and window frames. Dust ceiling fans, blinds, baseboards, doors, ledges, closet rods, and the tops of cabinets. These details are easy to miss when a unit is furnished, which makes vacancy the best time to address them.
Wipe switch plates, outlet covers, door handles, cabinet pulls, and thermostat covers with the appropriate cleaner. These high-touch surfaces can show fingerprints and grime quickly, particularly in units that have been occupied for a long period. Take care around electronics and painted finishes so cleaning does not create damage that needs to be corrected later.
Reset the Kitchen Thoroughly
The kitchen is often the deciding room for a prospective resident. Start by clearing any remaining debris from drawers, cabinets, and appliances. Vacuum crumbs from cabinet tracks and corners before wiping interiors and shelving.
Degrease the cooktop, backsplash, range hood, and the surrounding wall area. Clean the oven based on its condition, including racks, interior glass, and the drawer below if applicable. The refrigerator should be emptied, wiped inside and out, and checked for crumbs along seals and beneath drawers. Do not overlook the dishwasher filter area, microwave interior, sink drain, faucet base, and the narrow space beside appliances where dust and food debris collect.
A kitchen does not need to smell strongly of fragrance to feel clean. Neutral, fresh air is usually a better signal of readiness than heavy scent, which can mask an underlying odor instead of resolving it.
Make Bathrooms Look Fresh, Not Just Wiped Down
Bathrooms reveal shortcuts immediately. Treat the shower, tub, tile, grout lines, toilet exterior, vanity, mirror, fixtures, and floor as separate cleaning tasks rather than one general pass. Remove soap residue and mineral buildup carefully, then dry and buff fixtures so water spots do not distract from the finished result.
Clean inside vanity cabinets and drawers, around toilet bases, behind doors, and along baseboards. Check exhaust vents for dust and wipe wall splatter where needed. If caulking, grout, or a fixture has damage that cleaning cannot solve, document it for maintenance rather than trying to conceal the issue.
Finish Bedrooms, Living Areas, and Storage Spaces
In the remaining rooms, clean closets, shelving, window sills, tracks, blinds, baseboards, and interior doors. Remove tape residue, wall scuffs where appropriate, and dust that gathers around vents and corners. Empty units often expose details that were hidden by furniture, including marks behind doors and buildup along floor edges.
For balconies, patios, garages, or exterior entry areas included in the turnover scope, remove loose debris and check for cobwebs, leaves, and visible dirt. Exterior work should match property expectations and weather conditions. Pressure washing or more intensive floor care may be appropriate for some properties, while a careful sweep and spot clean may be the better fit for others.
Give Floors the Right Level of Attention
Floors influence how clean the entire unit feels. A spotless counter will not overcome dusty baseboards, sticky tile, or a carpet that holds visible hair and odor. Vacuum all edges before mopping hard surfaces, using methods suited to the flooring type. Too much water on certain floors can cause problems, while a rushed mop can leave streaks or residue.
Carpeted units deserve a condition-based decision. Routine vacuuming may be enough for a lightly used space, but stains, embedded soil, or lingering odor can call for carpet cleaning. The same principle applies to hard floors: scuffs may lift with detailed cleaning, but worn finishes or damaged material may need a maintenance solution rather than more product.
Build a Turnover Sequence That Protects the Schedule
A good cleaning plan accounts for more than cleaning time. Paint touch-ups, maintenance repairs, flooring work, pest service, and inspections can all affect the order of work. Sending cleaners in too early can mean duplicating effort after another vendor creates dust or debris.
For a typical turnover, the sequence should be clear:
- Inspect the vacant unit and identify cleaning, repair, and floor-care needs.
- Complete repairs, hauling, and any dust-producing work first when possible.
- Perform the detailed top-to-bottom cleaning.
- Address floors near the end of the process.
- Complete a final walkthrough under normal lighting before the unit is shown.
The final walkthrough is where the small details earn their value. Open and close cabinets, check mirrors from different angles, look behind doors, and confirm that trash, cleaning materials, and stray debris are gone. If the unit has been vacant for several days, a brief pre-showing check can be worthwhile because dust, insects, or odors can reappear.
Know When to Bring in a Professional Cleaning Team
Internal teams can handle some rental turnovers well, especially when the unit is lightly used and schedules are flexible. Professional support becomes especially useful when move-outs overlap, a property has many units to turn, common areas also need attention, or onsite staff need to focus on leasing and resident requests.
A cleaning partner should be able to work from your property standards rather than force every unit into the same scope. A studio with a quick, clean turnover has different needs than a heavily occupied apartment, a single-family rental, or a unit following renovation work. Clear communication about access, timing, repairs, floor type, and move-in deadlines helps produce better results with fewer last-minute adjustments.
For San Diego County property managers and landlords, Call The Helper LLC can provide customized move-out and turnover cleaning support for rental units, along with common-area and ongoing cleaning needs. The focus is straightforward: attentive service, clear coordination, and a space that is ready for the next resident to see.
A rental unit should feel like a fresh start, not like someone else just left. Build enough time into every turnover for the details that prospects notice, and the cleaning process becomes a practical part of protecting your property’s presentation.


Comments are closed