



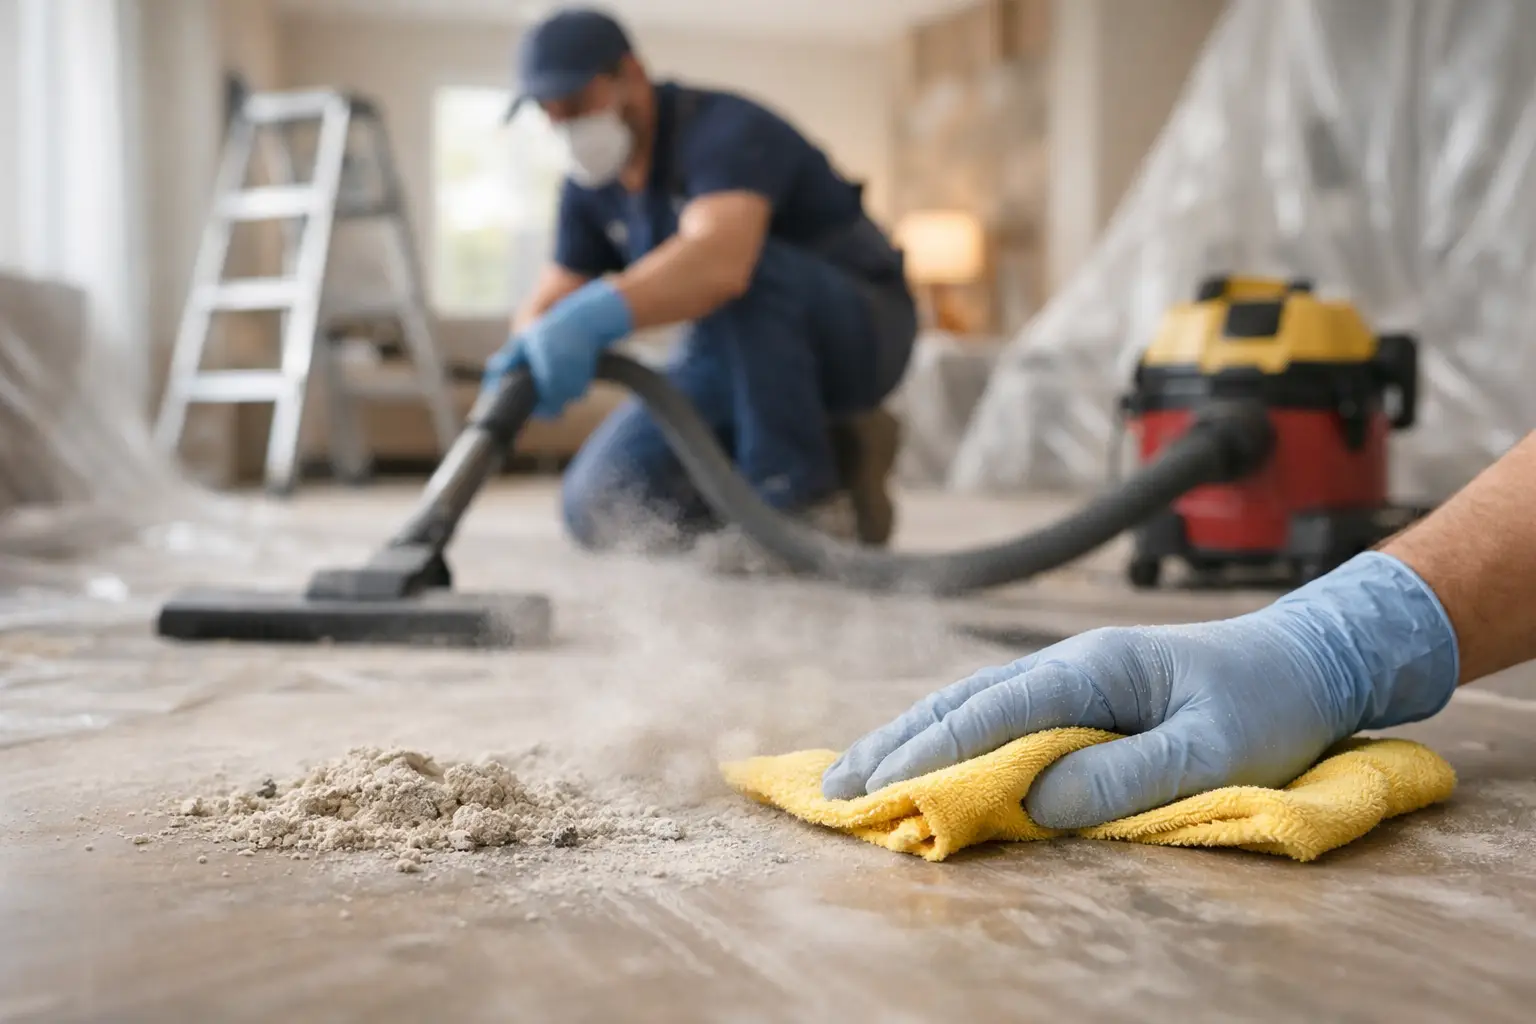
Construction dust does not stay where the work happened. It settles inside cabinet drawers, along baseboards, on window tracks, and in the HVAC system that carries air through the rest of the building. Knowing how to remove construction dust means working in the right order, using the right equipment, and resisting the urge to wipe every surface first.
For a recently renovated home, a tenant-ready unit, an office refresh, or a remodeled clubhouse, the goal is not simply to make surfaces look clean. The goal is to remove fine residue without sending it back into the air or transferring it to areas that were already cleaned.
Why construction dust needs a different cleanup approach
Unlike everyday dirt, post-construction dust is extremely fine and often widespread. Drywall compound, wood dust, grout haze, concrete residue, and packaging debris can settle in layers long after contractors have finished the visible work. A single pass with a feather duster or dry broom can make the room look worse by lifting that dust into the air again.
The material also changes the cleanup plan. Sawdust behaves differently from fine drywall dust, while tile or concrete work may leave gritty residue that can scratch hard floors if it is dragged across the surface. If paint, adhesive, caulk, or grout remains on finishes, it may require a separate removal method rather than more aggressive scrubbing.
That is why post-construction cleaning is best handled as a staged process. Start high, work low, remove loose dust before damp cleaning, and repeat the process where needed. The first detailed clean usually captures the largest amount of debris. A follow-up wipe after dust has had time to settle is often what creates the finished result.
How to remove construction dust step by step
1. Wait until dusty work is complete
Before cleaning begins, confirm that cutting, sanding, drilling, drywall finishing, and other dust-producing work has stopped. Cleaning while active work continues wastes time and can spread dust into rooms that have already been addressed.
Walk through the space first. Look for exposed outlets, open vents, unfinished surfaces, loose hardware, wet paint, and areas where debris has collected behind doors or inside closets. In commercial and HOA common areas, identify routes that workers, residents, staff, or vendors will use so those pathways can be cleaned and protected early.
2. Protect clean areas and improve airflow carefully
Close off completed rooms when possible and keep interior doors shut until the dusty room has been cleaned. If the space has a functional HVAC system, consider whether the system should remain off during the dustiest stage of cleanup. Running it too early can pull fine particles into returns and distribute them elsewhere.
Ventilation can help, but it depends on the project and outdoor conditions. Opening windows may be useful when weather permits and the surrounding area is relatively clean. If outdoor wind is carrying pollen, dirt, or debris inside, open windows may create more work. The practical choice is the one that limits airborne particles rather than simply moving them around.
3. Vacuum from top to bottom with the right filtration
A vacuum with high-efficiency particulate air, or HEPA, filtration is one of the most effective tools for construction dust cleanup. It captures fine particles more effectively than basic sweeping or vacuuming equipment. Use clean attachments and move slowly enough for the vacuum to collect dust rather than scatter it.
Start with elevated surfaces: ceilings where accessible, light fixtures, trim, tops of cabinets, shelving, window frames, and vents. Continue down walls, doors, baseboards, counters, and floors. Do not overlook closet shelves, drawer interiors, appliance exteriors, blinds, and the narrow spaces around hinges and door frames.
Avoid dry sweeping. A broom may be appropriate for larger pieces of debris after fine dust has been removed, but it should not be the primary tool for drywall or sanding residue. On hard flooring, loose grit can scratch the finish when pushed across the room.
4. Wipe hard surfaces with clean, slightly damp microfiber cloths
After vacuuming, wipe surfaces with microfiber cloths that are lightly dampened, not soaking wet. Microfiber holds fine dust more effectively than paper towels or old cotton rags, which can leave lint behind or push residue into seams.
Work in small sections and fold the cloth frequently so a clean side touches the surface. Rinse or replace cloths as soon as they become loaded with dust. Reusing a dirty cloth across cabinets, counters, and glass can leave a dull film that only becomes obvious in sunlight.
Use the mildest appropriate cleaner for the material. Painted walls, finished wood, natural stone, stainless steel, glass, and laminate each respond differently to moisture and cleaning solutions. Test an inconspicuous area before using any product that is stronger than a gentle surface cleaner. When there is dried adhesive, paint, caulk, or grout residue, use a method suitable for that finish instead of scraping aggressively.
5. Clean glass, fixtures, and detailed edges last
Dust is especially noticeable on glass, mirrors, chrome, dark countertops, and polished fixtures. These surfaces often need a final detail wipe after the room has otherwise been cleaned. Window tracks, sliding-door channels, cabinet pulls, switch plates, and trim corners also deserve extra attention because fine dust packs into these small spaces.
For offices, community rooms, and shared facilities, include tables, reception counters, chair frames, equipment surfaces, and interior glass partitions in the final detailing stage. A space may appear clean at a glance, but dust on touchpoints and horizontal surfaces can quickly undermine the finished impression.
6. Finish with floors, then inspect again
Floors should be cleaned last because every other step sends some dust downward. Vacuum carpets slowly in overlapping passes. For hard surfaces, vacuum first, then use a clean microfiber mop with the correct solution for the floor type. Change water and mop pads often. Dirty water can leave a cloudy residue, especially on tile, vinyl, and sealed concrete.
After the floor has dried, inspect the room in natural light or with bright overhead lighting. Run a clean hand across a window sill, shelf, or countertop. Check corners, vents, baseboards, and cabinet interiors. If the cloth picks up visible residue, the space needs another targeted pass.
Do not forget the HVAC system and hidden dust zones
Construction dust often collects where daily cleaning rarely reaches. Return-air grilles, supply vents, exhaust fans, utility closets, recessed lighting, and the tops of doors are common trouble spots. Replace or inspect HVAC filters according to the system manufacturer’s guidance after dusty work is complete. If there is visible dust inside ductwork or a large-scale project created substantial airborne debris, an HVAC professional may be the appropriate next step.
Do not force dust deeper into vents with a brush or compressed air. Vacuum the accessible exterior carefully and wipe the grille. The same principle applies to electronics, appliances, and office equipment: use methods appropriate for the equipment instead of applying moisture directly where it does not belong.
When a professional post-construction clean makes sense
A small room may be manageable with patience, proper tools, and several cleaning passes. Larger renovations are different. Multi-room projects, occupied offices, tenant turnovers, remodeled common areas, and properties on a tight reopening schedule often need a more organized approach.
Professional post-construction cleaning can be especially helpful when fine dust has reached multiple rooms, floors need detailed care, or the space must be ready for residents, employees, guests, or an inspection. The work can be planned around the site condition, the surfaces involved, and the level of detail needed before move-in or reopening.
For San Diego County homes, workplaces, and managed properties, Call The Helper LLC can tailor post-construction cleaning around the condition of the space and the finishing details that still need attention. Clear communication about the work completed, remaining debris, and access to the property helps create a more efficient cleanup plan.
Construction dust is persistent, but it is manageable when cleanup follows the right sequence. Give dust time to settle, remove it with controlled vacuuming and clean microfiber materials, and save the final inspection for after the floors are done. That extra detail is what turns a completed project into a space that feels ready to use.


Comments are closed